Back to Maintenance Manager for Education Main Menu
Adding and Managing Location
The Manage Location feature allows Administrators to create, and manage locations, view, and edit locations with a hierarchical structure, from site level down to individual rooms.
Adding a New Location
-
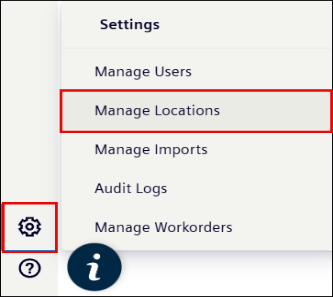
Navigate to the Settings
 icon.
icon. -
Click the Manage Locations.
-
Click the New Location button at upper right corner of the page.

-
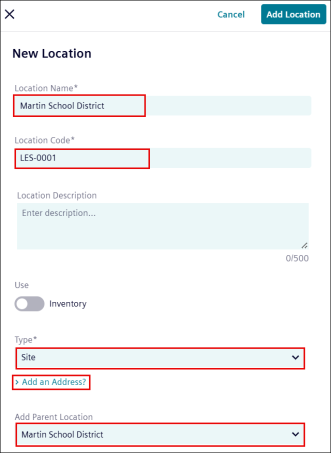
Enter the Location Name.
-
Enter the Location Code.
-
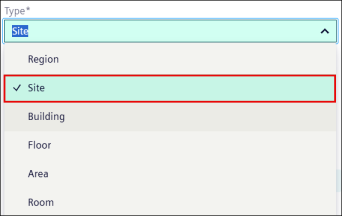
Click the Type drop-down list to select the location Type.
-
Click the >Add an Address? and fill the given requirements.
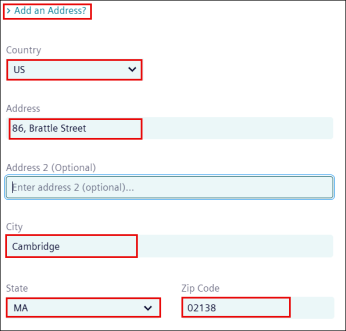
NOTE >Add anAddress? field only appears for the Site, Region, and building location type.
-
Optionally, you can enter the following details also:
-
Location Description
-
Inventory toggle switch
-
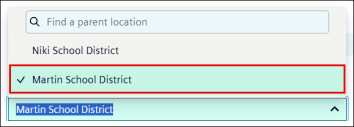
Click Add Parent Location drop-down list then enters or select it from the suggested options.

-
-
Click the Add Location button.
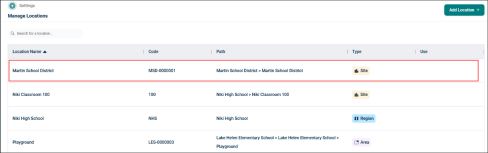
Once the location is added to the system it appears in the manage location list.
Managing Locations
Searching for a Location
-
Use the search bar at upper left of the Manage Location page.
-
Enter a Location’s name or Code.
Updating Location’s Details
-
Click on the location’s row in the location list.
-
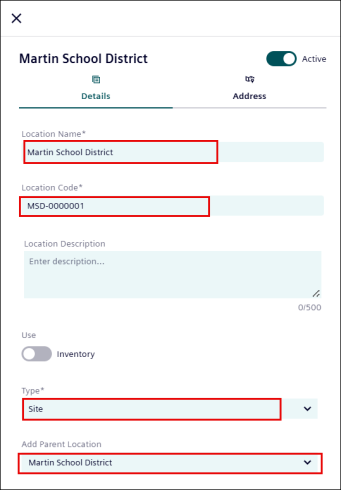
Update the details as required:
-
Location Name
-
Location Code
-
Location Description
-
On/Off the Use toggle switch
-
Type
-
Add Parent Location
-
-
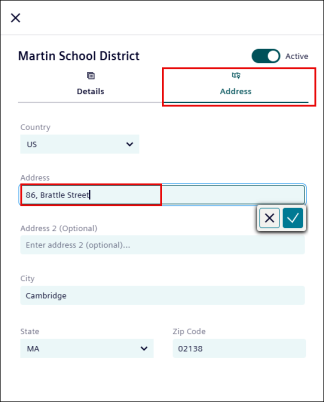
Go to the Address tab.
-
Update Address Details as required:
-
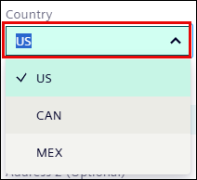
Select Country from the drop-down list to update a country.
-
Update the address in the Address field, then click
 to save or
  to discard the change.
 -
Repeat the same process for Address 2, City, and Zip Code.
-
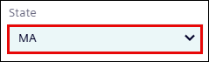
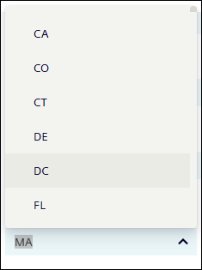
Select a State from the drop-down list to update a state.
Deactivating/Activating Location
To Deactivate Location:
-
Click the user’s row in the users list.

-
Turn off the Active toggle switch to deactivate the user.
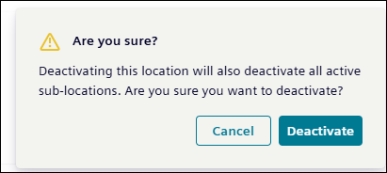
A pop-up deactivation confirmation message appears.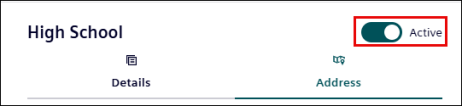
-
Click Deactivate.
To Activate a Location:
-
Turn on the inactive toggle switch to activate the user.
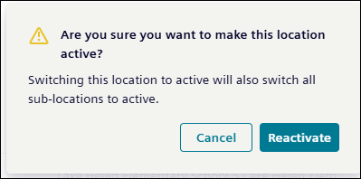
A pop-up Reactivation confirmation message appears.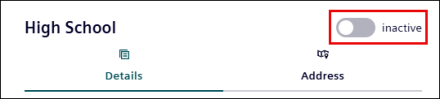
-
Click Reactivate button to activate the location.